How to process a returnUpdated 4 months ago
👋🏼 If you’re new to creating Help Center content, we want to help.
- Start your articles by clearly stating the customer’s goal.
- Then, smoothly transition into the "how-to" steps.
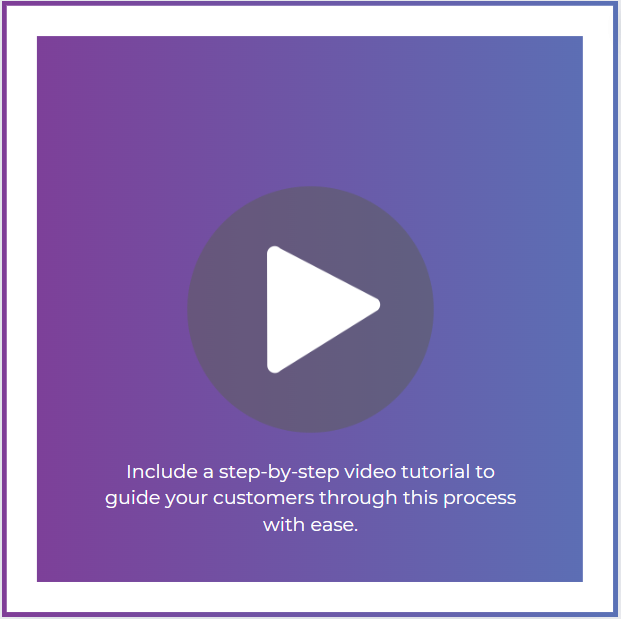
- Whenever possible, include numbered steps and videos to make it easier for customers to find solutions on their own.
☑️ Remember, if you need any assistance, CX Collective is ready to help you build your Help Center. Visit www.cxcollective.com/gorgias.
Below is an example of an article that can be used to show customers who need to return all or part of their order.
Start a Return
We understand that sometimes things don't go as planned. No worries—we've got you covered! Follow this simple guide to ensure your return process is smooth and hassle-free.
Before You Begin
To get started with your return, please make sure the following criteria are met:
- Delivery Date: Your order was delivered within the last 30 days.
- Condition: All items are unworn, unused, and undamaged.
- Purchase Verification: The items were purchased directly from us.
If you can confirm these details, you're all set to begin your return. Here's what you should know about your refund:
- Restocking Fee: Please note that items meeting the return criteria may be subject to a $5 restocking fee.
- Shipping Label: The cost of your return shipping label will be deducted from your refund.
Ready to proceed? Let's get started and make your return as easy as possible.
Check out our full returns process here:
How to Process your Return and Create a Shipping Label
Need to return something? No worries, we’ve got you covered! If there is a restocking fee assessed with your return you will see it in the returns portal.
Step 1: Click here to Start Your Return
- Just grab your billing zip code and order number.
- You’ll find the order number in your order confirmation email or on the packing slip.
- If you have an account, you can also log in and check your order history.
Step 2: Print Your Label
- After starting your return, print the prepaid shipping label.
- Attach the label to your package.
Step 3: Drop Off Your Package
- Take your package to any USPS location. It’s that simple!
- Need more details? Check out our full return policy here.
Need help? Chat with us below!